Sensors
The Symbio acts as a smart home hub and is compatible with standard ZigBee and Z-Wave products for the US market.
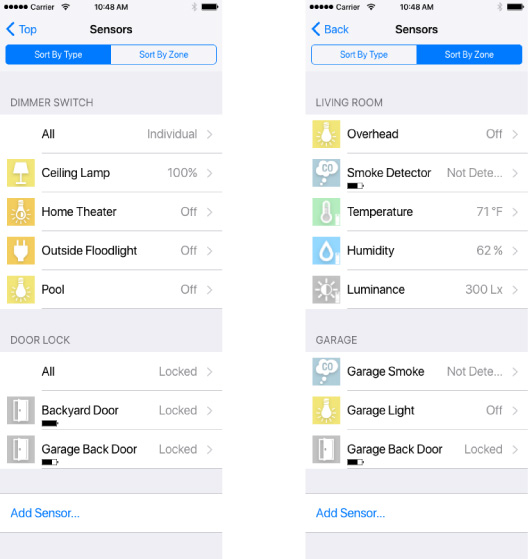
>Tapping Sensor on the Settings Manager screen or on the Home Screen displays the Sensors screen below.
Sensors registered by default are shown on the screen. In addition, you can add/remove/delete/edit sensors. Up to 40 sensors can be registered in addition to the default internal sensors.
Important-
Do not use sensors from countries other than from the US market.
The sensor may not operate correctly if you use one from another country.
* The screen appearance is subject to change without notice.
Note
- Tap Sort By Type to sort sensors by type.
- Tap Sort By Zone to sort sensors by location.
Examples of available sensors are listed below. Visit http://www.TSB-SmartHome.com for the latest information.
-
On/Off Switch
You can turn on/off electric appliances such as a lamp.
-
Dimmer Switch
You can dim or brighten a room lamp, for example.
-
Binary sensor
You can see whether the door is open or closed, whether something moves within the camera range of Symbio, or whether there has been water leakage. In addition, this sensor detects smoke or carbon monoxide (CO).
-
Alarm
You can detect things such as motion or a water leak.
-
Temperature/Humidity/Brightness Sensor
You can see the room temperature, humidity, or brightness.
-
Power
You can see an estimation of power consumption.
-
Door Lock
You can lock/unlock the door.
-
Thermostat
You can change the room temperature.
Adding a Sensor
Follow the steps below to add a sensor. Pairing a sensor allows Symbio absolute control of the device and its functionality. To see the values of a sensor or control a smart device one must first pair it to Symbio.
-
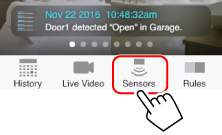
Tap Sensors on the Home screen.
-
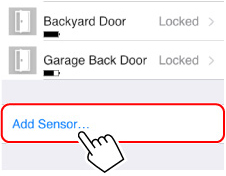
Tap Add Sensor.
-
Tap Add Sensor on the displayed screen.
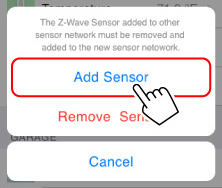
The app starts searching for a sensor and the screen below appears.
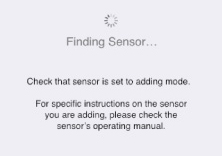
-
Put the sensor in discovery mode (sometimes called "inclusion" mode).
Refer to the sensor's instruction manual for details.
When the app finds a sensor, the screen below appears.
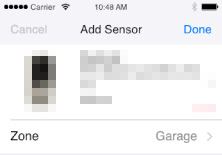
-
Tap Done.
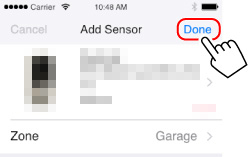
The sensor has been added to the app.
Removing a Z-Wave sensor
Follow the steps below to remove a Z-Wave sensor. You can tell whether the device is a Z-Wave or ZigBee device from the manual it provides you.
This will unpair the device and any rules or settings associated with it.
-
Tap Sensors on the Home screen.
-
Tap Add Sensor.
-
Tap Remove Sensor on the displayed screen.
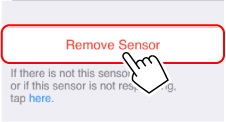
The screen below appears and the app starts removing the sensor.

Put sensor in exclusion mode. Refer to the sensor's instruction manual for details.
-
Tap OK on the displayed screen.
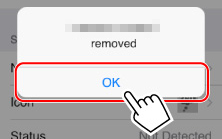
The sensor has been removed.
Removing a Zigbee Sensor
Follow the steps below to delete a remove a ZigBee sensor. You can tell whether the device is a Z-Wave or ZigBee device from the manual it provides you. This will also work with Z-Wave devices.
This will unpair the device and any rules or settings associated with it.
-
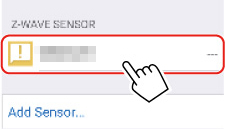
Tap Sensors on the Home screen.
-
Tap a sensor you want to delete.
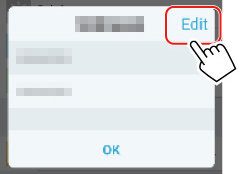
-
Tap Edit on the displayed screen.
-
Tap Remove Sensor on the displayed screen.
-
Tap Remove Sensor again on the popup.
The screen below appears and the app starts removing the sensor.
-
Tap OK on the displayed screen.
The sensor has been removed.
Editing a Sensor
On the Edit Sensor screen, you can edit following items.
- Product name of the sensor
- Zone where the sensor is placed
- Name of each sensor class to control
- Design of icon to display on the Home screen
To display the Edit Sensor screen, tap a sensor icon you want to edit on the Home screen.
